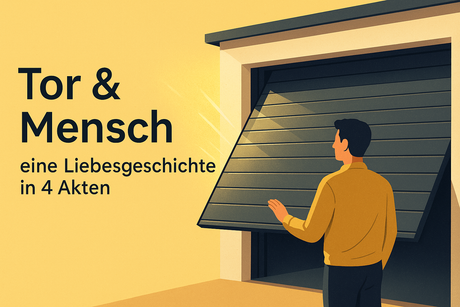
Light barriers on garage doors: Selection, installation & troubleshooting
Does your gate stop too late or react unreliably? Here's the shortcut: choose the right sensors, install them correctly, and test their function – with tested products from Tormeister 24.
Introduction
A reliably stopping gate is not a luxury – it protects people, vehicles, and materials. Light barriers monitor passage, and contact strips (8.2 kΩ) ensure a secure closing edge. The challenges lie in selection, positioning, and wiring. This guide provides: a quick selection aid, an installation checklist, typical fault patterns with solutions, and direct links to suitable products. The result: less downtime, more safety – and peace of mind.
Table of contents
✅ Advantages & Benefits
Early obstacle detection prevents accidents and damage – both private and commercial.
Properly placed sensors reduce false alarms and error messages.
Universal sensors work with many controllers – ideal for retrofitting.
⚙️ Technical Background
- Light barrier (one-way/reflection): monitors passage without contact.
- Safety contact strip 8.2 kΩ : protects the closing edge against crushing.
- Light grid : multi-beam field for wide areas/industry.
- Optosensor profiles : integrated sensors in rubber closing edges.
- Unobstructed line of sight between transmitter and receiver (no twisting).
- Short, protected cable runs; strain relief for connectors.
- Align the light barrier height at passageways (children/pets/vehicle parts).
- Slightly misaligned alignment → sporadic triggering.
- Glare/reflections without a lens → false alarms.
- Incorrect closing edge type/no 8.2 kΩ → malfunction in the control system.
🧭 Selection & Positioning
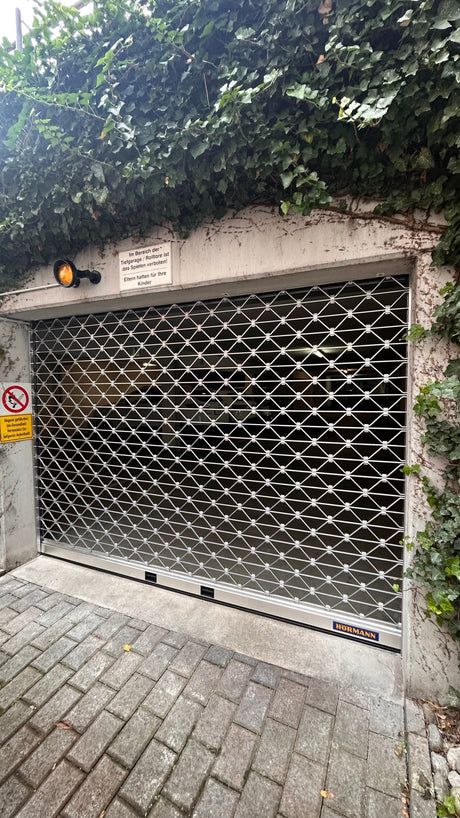
- Garage door (private): Light barrier in the passageway + contact strip at critical edges.
- Sliding gate/yard: Light barriers in the driving path + 8.2 kΩ strip at the closing edge.
- Outdoor/Industrial: weatherproof sensors, robust brackets, possibly sunshades.
📊 Comparison & Product Recommendations
| Mission | Recommended sensors | Highlights | link |
|---|---|---|---|
| Garage door (private) | Light barrier + optional contact strip | Comfort, personal safety, fewer false alarms | To the category |
| Sliding gate / courtyard | Light barriers in the travel path + 8.2 kΩ strip | Clear stop signal at the closing edge | Configure contact strip |
| Exterior/Industry | Reflective light barrier (IP67) / light grid | Fewer false triggers in sunlight/dust, long range | View light grid |
| Universal & robust | Reflective light barrier 12 m – SOMMER 5233 | IP67, polarizing filter to prevent reflections, flexible mounting | About the product |
🔧 Assembly & Commissioning
- Position the brackets and align the axes precisely.
- Connect the wiring (note 2- or 4-wire), check the strain relief, and connect the control unit.
- Function test: Interrupt beam → Gate stops/opens as intended.
- Contact strip: Pressure test at several points along the edge.
- Run cables/connectors dry (IP box), adhere to bending radii.
- Use the aperture when shooting in direct sunlight, and keep the reflector clean.
- Logging errors facilitates later diagnosis.
💡 Practical examples
🧰 Maintenance & Inspection
- Monthly function check: Object through beam → test reaction.
- Contact strip: Pressure at multiple points → immediate stop.
- Clean the lens/reflector, check the mount and cable.
- Annual documentation in the maintenance plan (commercially mandatory).
🏗️ Trust & Advice
Specialist retailer & service: We recommend working combinations – from light barriers to 8.2 kΩ contact strips – and help with the connection to the control system.
Free safety check: Send us a photo of the installation situation and the control unit – we will give you a clear product recommendation.
❓ FAQ
What height is suitable for the light barrier?
Align yourself with the typical passageway (children/pets/vehicle parts). Clear visibility, a torsion-free mount, and precise alignment are crucial.
What does 8.2 kΩ mean for contact strips?
This is the monitoring resistance for the closing edge. Many controllers require precisely this value for reliable evaluation.
My light barrier is triggering sporadically – what should I do?
Check alignment, clean lens/reflector, shield against glare, check cables/connectors. Try swapping the sensor/reflector to isolate the fault.
Do I need both – a light barrier and a contact strip?
For critical closing edges or commercial operation, the following combination is common: light barrier for the travel path, contact strip for the closing edge.
Drive safely – choose the right sensors
With well-placed light barriers and a suitable 8.2 kΩ contact strip, your gate will operate more safely, quietly, and stress-free. View suitable sensors now or get a brief consultation.
detect light barriers Configure contact strip